INFO: Software Cheat Sheets
Seashore 1.9: Basics and Layers Panel
Cheat Sheet 20091012
Cheat Sheet 20091012
Seashore is a bitmap image editor. The program is free and open source. If the program is not coöperating, save your work and restart it.
• Layers Panel
• Layer Settings
To start a project open the application.
The New Image dialog box opens (see below):
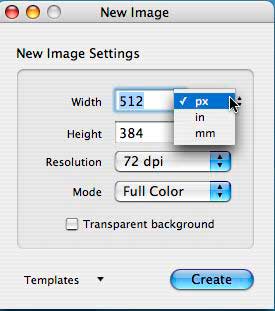
Decide the following:
1. Width and Height in either:
pixels (px)
inches (in)
millimeters (mm)
2. Resolution
72, 96, 150 or 300 dpi
Note: You can set a different resolution than the ones offered after you have created your document.
3. Mode
Full Color (24-bit RGB)
Grayscale (8-bit grayscale)
Note: You can convert your color mode later. Go to – Image - Mode.
4. Transparent background
Check the box if you want the bottom layer to be transparent. Otherwise it is opaque.
5. Templates
Choose a different one if it suits your needs, otherwise it will open with the Default settings:
Default (512 x 384 px)
Clipboard (240 x 144 px)
Screen (depends on your screen size)
Paper size (fits on a US Letter and is already cropped to 6.5 x 8.5 in)
Note: You can make your own Default New Images settings. Go to – Seashore - Preferences - New Images (see below):

In version 0.5.1, you will find the Layers Panel options by clicking the “ i ” on that layer in the window (see below):
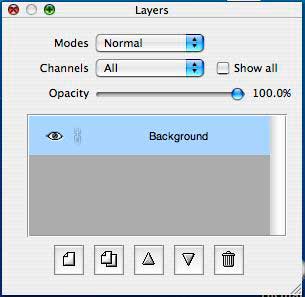
Think of the Layers Panel as a box of papers that you’re looking straight down on. Whatever is on top will probably win – i.e. will potentially cover whatever is below it.
1. Modes – Pop-up menu for changing the compositing/blending mode of a layer. (All modes except Normal affect only non-transparent pixels.) Experiment to see what each mode does.
2. Channels – A layer has either 2 grayscale channels (gray and alpha) – or – 4 color channels (red, green, blue and alpha).
All
Primary (gray – or – red, green, blue)
Alpha (Alpha channel determines opacity – white makes it opaque, black makes it transparent.)
3. Opacity Slider – sets opacity for the selected layer.
4. Buttons – left to right (see below):
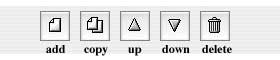
Add a layer
Copy selected layer
Move selected layer Up
Move selected layer Down
Delete selected layer
5. Layer Eye Icon – click to make a layer invisible or visible (see image above).
6. Layer Chain Link Icon – (to the right of the Layer Eye Icon) click to un-dim and link layers. All layers with an un-dimmed Layer Chain Link Icon are linked (see image above).
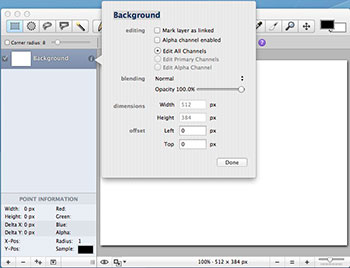
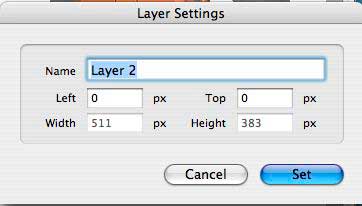
1. Click on the layer name to open the Layer Settings dialog box and change the layer name and/or its position (see below):
2. To reduce the size of a layer and to speed up the performance of Seashore go to – Layer - Boundaries and the Boundaries dialog box will open (see below):
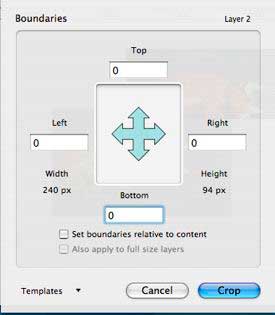
Either crop your image or check Set boundaries relative to content.
3. To increase the size of a layer to the current document size go to – Layer - Extras - Expand to Document
4. To align your layer(s) go to – Layer - Alignment
Note: Layer menu commands apply to the selected layer.
5. To merge all layers go to – Image - Flatten Image
Note: Image menu commands apply to all layers.
6. To see different panels go to – Window - Utility Windows